Monday, April 20, 2015

Week 16 DLP Gelli-Printed Paper Quilt


I was so pleased with my first paper quilt project. I made another one in my class with a slightly different spin on it. See my previous post to see the first version.


This time, I placed my squares on a piece of paper where I rollered my brayer off on and cleaned off the excess paint from a stencil. I loved the dots. I glued the squares onto the page, then two days after I had finished it, I read the new challenge for The Documented Life Project, and it was GELLI PRINTING! So, I glued it into my Dylusions journal. 


I love the effect pulling a print from an-almost dry gelli-plate. It looks like old peeling paint. :)


I added doodling with a Pilot Mini 01 fountain pen. I love how well they glide over acrylic paint!


Had bit of an issue on the spine, but whatever...


Thanks for visiting! :)

Anna

Gelli Printing Paper-Quilt Class


I love Gelli-printing. Once you start, you can't stop. I decided to share my love of it at one of my art classes. I of course, wanted to show my students how to do this. But I also needed a project to go with the lesson. I used many of prints in my art journals as backgrounds, but I needed an idea where Gelli-prints would be the star of the show. 

NOTE: If Gelli-printing is unfamiliar to you, check out my Pinterest board here, and the Gelli Arts website here

I saw a paper quilt using scrapbooking paper on Pinterest, which led me HERE. Adorable.

I got an idea. 

Why not use my HUGE pile of Gelli-prints instead of scrapbooking paper?!? I got right to work.:) I tried to pick Gelli-prints that had one side contrasting well with the other side, so that the "petal" stood out from the center.

I punched out circles from my latest prints using a 2" circle punch. I arranged these various circles in an empty spot in my Dylusions DLP journal. (I've missed a few challenges, so instead of thinking I have to do a challenge that doesn't speak to me, I decided to just fill it up with something else. )

Then my sister came over. So she helped me. I value that. She sees things I don't. Actually, she had used this quilting pattern to make a real quilt a year or two ago. 


Instead of me explaining how I folded them, I'll post a link that describes it perfectly. (Using slightly different measurements, as I used 2" circles, not 2.5 inch circles. If you look at the detailed shots in the link, you should get an idea of how large the inside square should be no matter what size circles you go with.) I only discovered this article this morning AFTER I had made my own. Here's the how-to: http://www.scrapbookandcards.com/cathedral-window-quilting


Once I had punched out enough circles, I arranged them in a pleasing way. For me, it's usually in a visual triangle. I glued them down with an UHU glue stick. 


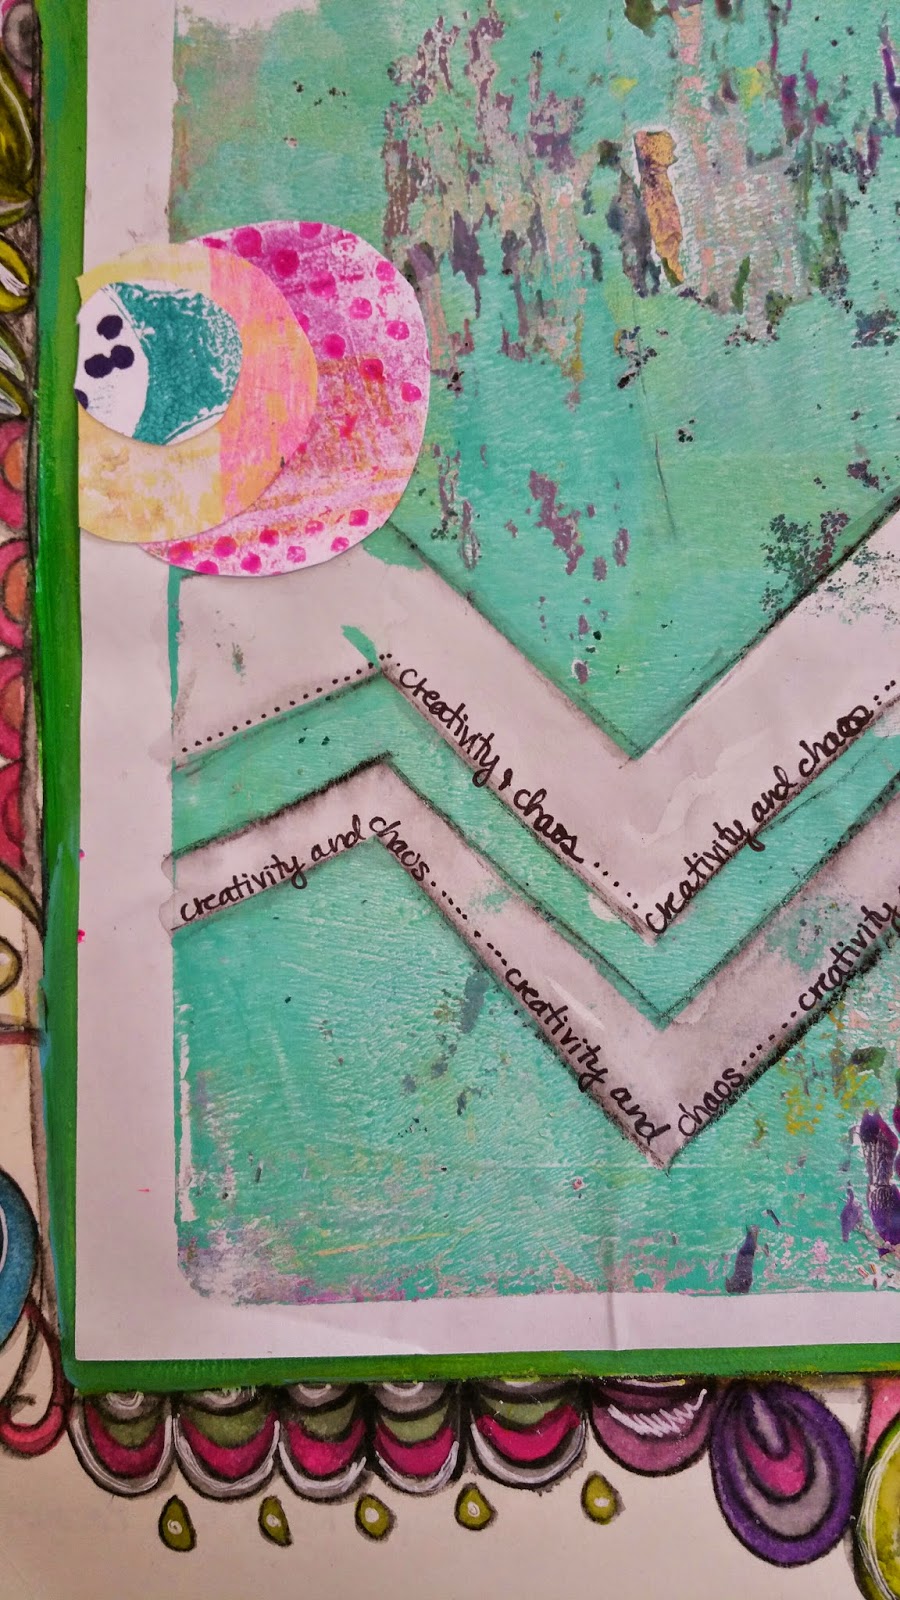
Next, I added black Stabilo All pencil to the edges. A close-up here:


Next, I added hearts with the Stabilo, and a bit of transparent flourescent pink craft paint to the right hand side of the hearts.


Next, I added some white doodles to some of the petals and some of the centers with a Bic White-out marker. 

And I'm done! It was so fun!! 

I created this page in little spurts/breaks throughout the day. I rarely sit down and finish a project from start to finish, as my schedule and lifestyle just doesn't work like that. I hope you can make art fit in YOUR life. Even just 15 minutes a day is all you need!

Now here are some photos from my Artful Stories With Anna class where they made their own paper quilts.


Aren't they great? :) 

Happy creating to you! 

Anna

Thursday, April 2, 2015

DLP Week 11 Borders


Hi, everyone! 

March Theme:
 Making Your Mark (Doodles and Mark Making) 
March 14 Art Challenge:  Borders 

I have been struggling with the Documented Life Project challenges lately, and this week was no exception. I couldn't understand why mark-making was difficult for me, as I love doodling! Then it came to me: do what you know how to do. My goal with mark-making month was to try something new with the way I doodle. But now I know something: if I'm having difficulty, don't try to change your techniques, or try a different way of doing doodles, do what you know. So I started what I easily do: create flourishes. Then I got the idea of using my black Stabilo All for it, and so I did. That morphed into watercoloring them in, and so I did. And now I have done something with doodles I've never done before! So, I achieved my goal but I started with what I always do!


I created a border around the page. Then I was stuck again. LOL What to put in the middle...


After staring at the blank middle for days, I decided to just DO SOMETHING, so I picked up a paintbrush and started painting with acrylic in various blues, greens and yellows.


I had a Gelli-printing craze for a few days, with my kids looking on. My daughter got the bug too, and she came up with some fabulous prints. The chevron on the retro green-blue is one of them. She placed my home-made chevron masks on the plate, placed the paper down, let it sit there for a bit, then peeled off the paper. It looks like peeling paint on a wall, doesn't it? :) I added some circles from some of the prints I made. Also, the little scallop on the right edge is a handmade stamp I made a few weeks ago. Took my black Stabilo All again, and outlined the chevron lines with it, making them pop more. Still more tweeking to come...


See the peeled paint look? I love!

I trimmed the print to fit into the middle and glued it down. I added the circles, the stamped scallop, and the writing on the chevron.

Next I penciled in all the edges with the Stabilo All and wet it with a paintbrush. This created more definition in each piece and the overall look.


I also added the black around the little circles within the larger circles, and I also doodled in more with a Sharpie.


Blue markings with a Montana acrylic paint pen with black Sharpie details around them...


More circles in different colors of Montana paint pens and Sharpie...


For the little journaling on the chevron lines, I wrote about the creativity and chaos of my life, in reflection of this week's Journal Prompt: "Borderline feels like I'm going to lose my mind."

And we're done!
Thanks for stopping by!

Anna :)